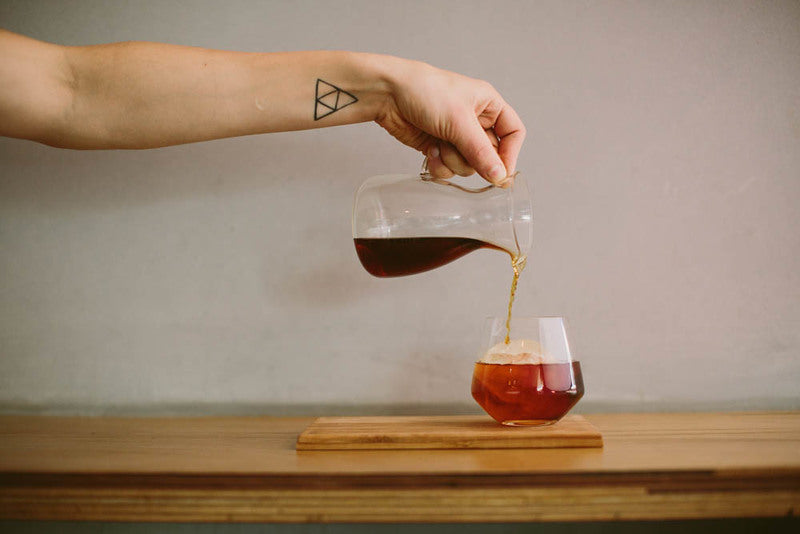
At this time of year, you may start noticing a few changes at your local café. As the temperature begins to increase, so too does the number of gleaming little brown glass bottles and intricate glass devices on display – which look as if they came straight out of Breaking Bad. Yep, it’s ice coffee time! There are two main ways of cold brewing coffee: cold drip, where the water is dripped slowly through the coffee and cold brew, where the coffee is immersed in water for the entire brewing time. This is similar to the difference between a drip brewer (Kalita Wave) and an immersion brewer (Clever Coffee Dripper) but much colder and much slower.
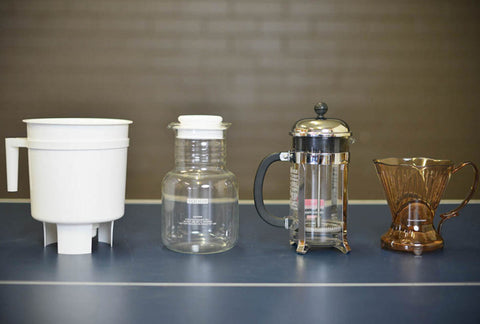

You may be more familiar with cold drip which is a common sight in Australian cafés these days. However, cold brew (which has its historical roots in New Orleans) is definitely on the rise. The coolest thing about cold brew is that it doesn’t require any specialised equipment to make it. It can be made in a plunger or a jar, although best results might be achieved using something like the Toddy Cold Brew System, which also makes it easier to prepare in bulk. Here at the Five Senses Academy, we’ve really been loving cold brew for the ease of preparation and the consistency of the results. A cold drip will require monitoring to ensure the drip rate stays steady, whilst a cold brew is quite happy just chillin’ in the fridge. One big thing you lose though is the visual appeal of the device itself. Most cold drippers look great and can really help sell the coffee, while most immersion brewers look a bit more ‘practical’. For a closer look at how to make cold drip coffee, check out this sweet video by our head trainer, Andy Easthope. However for this article, we’ll be focusing entirely on cold brew.
Slow it down
The first thing to know about cold brew is that it takes a long time to make. This is because without heat, the extraction rate is radically reduced. You know how sugar is harder to dissolve in cold water? Well, it’s the same thing with all the flavour elements of coffee, but inside the beans. The cold brewing process will also change the nature of the extracted flavours. Generally you’re going to see a reduction in acidity and bitterness – although with the right coffee and technique, some remarkably fruity brews can be achieved. We will also miss out on all that astringency and bitterness which can come with cooling down hot coffee, particularly espresso, meaning this drink can be enjoyed black without having to add milk and ice cream!
Getting ready
Ok, we’re almost ready to go; we just need a few things.
- A receptacle: This can be anything from a big, 20l Toddy for commercial prep to an old jam jar or an Aeropress. I’ve been making cold brew in my trusty old plunger for years.
- A filter: You need something to separate the coffee and the brew. This might be a part of your brewing device, but if you’re going the jar route you’ll need to sort out a filter of some kind, like a pourover or some cheesecloth. A metal mesh filter (plunger) will give you more body, whilst paper or cloth will result in a cleaner cup.
- Coffee: Cold brew needs something delicious and freshly roasted! I tend to use filter roasted coffee, and enjoy it black. If you’re planning on adding milk later, you may want to stick with espresso roast as the milk will tend to mute the more delicate flavours.
- Water: We need good quality water for any coffee we’re making. As a general rule, tap water sucks and a filter jug is a minimum requirement. See here for deeper nerdery.
- A grinder: Freshly ground coffee is the way to go. A Baratza is a great option for cold brew or, if you are keen on something cheaper, then a hand grinder is probably the best cost/benefit investment you can make in coffee. Full range of grinders here. You can use pre-ground coffee if you really have to, it just won’t be as delicious.
Ok, let’s brew this thing
- The ratio (black): For coffee we’ll be drinking black, 80g/l is the ratio we love. This is slightly higher than for hot-brewed coffee as it is more difficult to get the desired flavour strength from cold brew. This ratio results in a fresh, delicious brew that is strong enough to be enjoyed straight from the fridge. Of course you can (and should) play with this ratio to find something that suits both your personal taste and the coffee you’re working with. Once you’ve settled on your ratio, work out the size of your brewer and weigh out an appropriate amount of coffee.
- The ratio (white): If you’re planning on adding milk to your brew, you’ll want to make a stronger concentrate, and use an espresso roast: 120g/l will taste good when diluted with around 1/3 milk. Once you’ve settled on your ratio, work out the size of your brewer and weigh out an appropriate amount of coffee.
- The grind: We’ll be going fairly coarse, a bit coarser than a normal filter grind. Grind size is difficult to communicate in words, but it should feel like coarse sand.
- The pour: Now get your coffee in that brewer and pour the water in. You’ll want to weigh the water if it’s a small amount, but at larger volumes a jug with volume markers should be accurate enough. All the coffee should be wet, so make sure you pour around in circles and don’t leave any clumps. If you fail to get it all wet, you can give the slurry a gentle stir; however, excess agitation will lead to bitterness in the brew. Any agitation at all will lead to an increase in extraction rate and for cold brew, the slower the better! If you want to stir your coffee, you could consider reducing the contact time.
- The wait: Now we wait. I normally leave it overnight, for 12 hours at least. Then strain your coffee, seal it up and keep it in the fridge. If it’s properly sealed and stored in glass, it should keep for 1-2 weeks. Now enjoy your coffee, you’ve earned it! It really is the best way to wake up from a hot, sleepless night.
I’ve kept this guide intentionally open as this is such an easy, flexible brew method for cafés and home baristas alike. We had a lot of fun experimenting with grind, brew time, temperature, agitation and different coffees and I encourage you to do the same! However for clarity and ease of reference, I’ve included a simple, step-by-step recipe below.
Ingredients
- 40g filter roasted coffee beans or 60g espresso roast
- 500ml water
- Plunger (or any receptacle that’s food safe and sealable)
Recipe
- Grind the coffee at a coarse grind setting and place it in the plunger
- Pour the water into the plunger, making sure to wet all the grounds
- Place the lid on the plunger and leave it in the fridge for 12 hours
- Plunge the coffee and decant it into a bottle or jar
- (optional) Pour the coffee through a paper filter to clean up the body
- Enjoy your coffee! Remember it can be stored (sealed and in the fridge) for 1-2 weeks.